Some people might disagree with that extremely tiny definition, and I understand why they would. Negative space can be used in MANY ways and can become anything within the frame of the photograph. I'll try to explain this with some of my photography (Nothing better than actual examples!) :
 |
| This image uses a lot of negative space to support the themes: smoothness, creamy delightful. The negative space is that creamy looking space surrounding the flower. The effect of blurring the background is termed BOKEH! (Boe-Keh) |
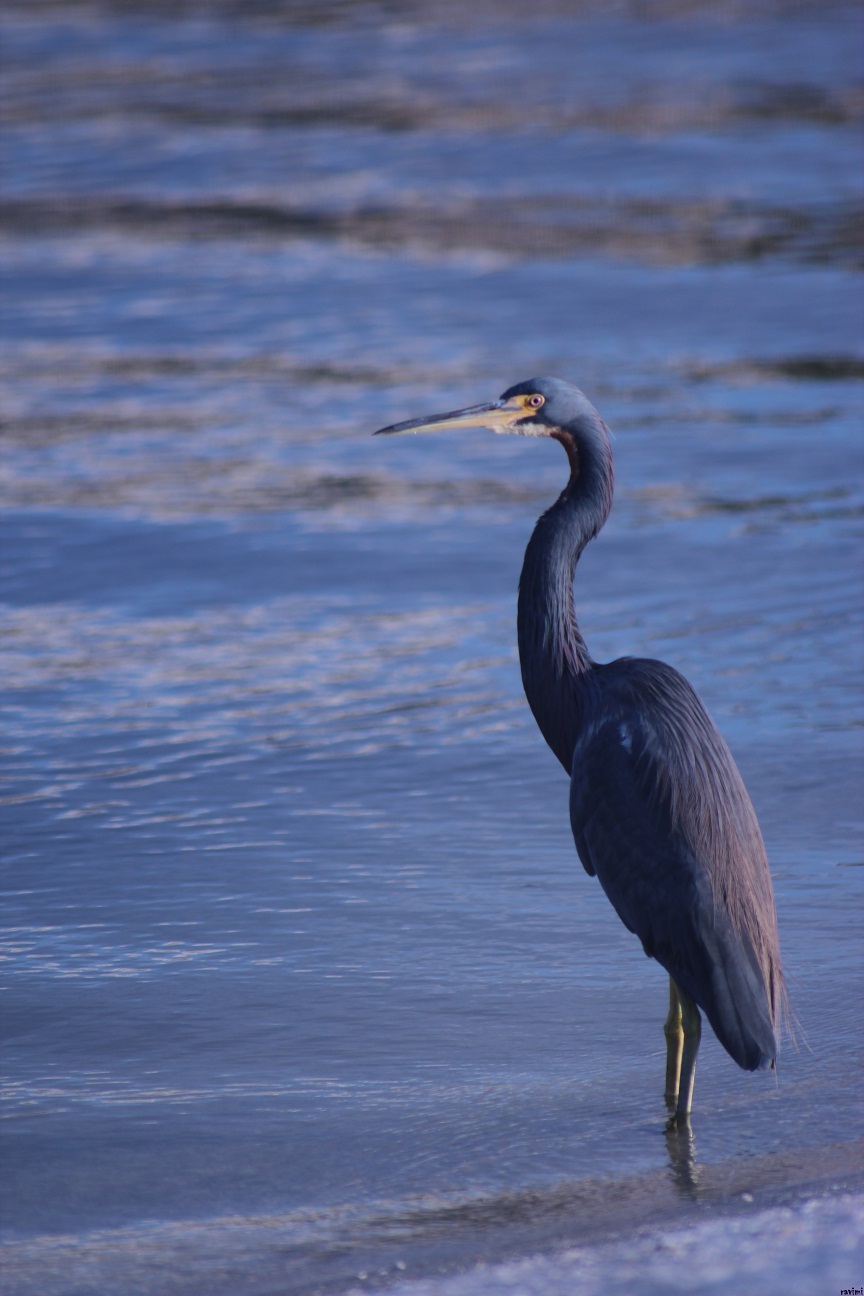 |
| In a lot of my pictures I move the subject to a corner of the frame. By doing so, I fill the frame with empty space and this space represents the "Negative space" in the image. I used Negative space to show the Habitat of the bird and also to highlight the beautiful blue colors it has and how it almost blends with the water. |
 |
| The "Negative Space" in this image is used to portray the themes: desolate, not of nature. By allowing more of the sky to appear the viewer might notice how the smoke from the factory starts to disappear into the sky, what does that make you think? |
 |
| Negative space here also creates a sense of separation/loneliness and some may interpret it differently (that's one beauties of "Negative Space", it is free). In this image the negative space represented by the light grey (a lake) also takes form.*** |
 |
| This is one of my favorite uses of "Negative Space". It can be used to give a dramatic push to a theme or a persons personality. My friend (the guy in this image) is a goofy guy, but he is also very smart and seems to enjoy thinking so I decided to capture that part of his personality. |
Keep Snappin',
ravimi

